#
How To Use
When you run Fast Collections for the first time after downloading from the Mac App Store you'll be presented with this:
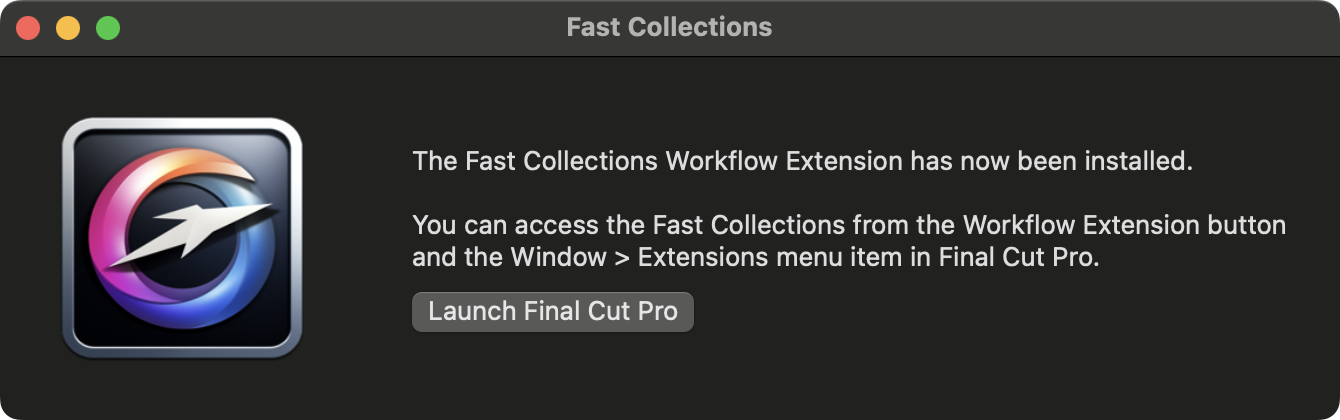
Simply click Launch Final Cut Pro to quit Fast Collections and Launch Final Cut Pro.
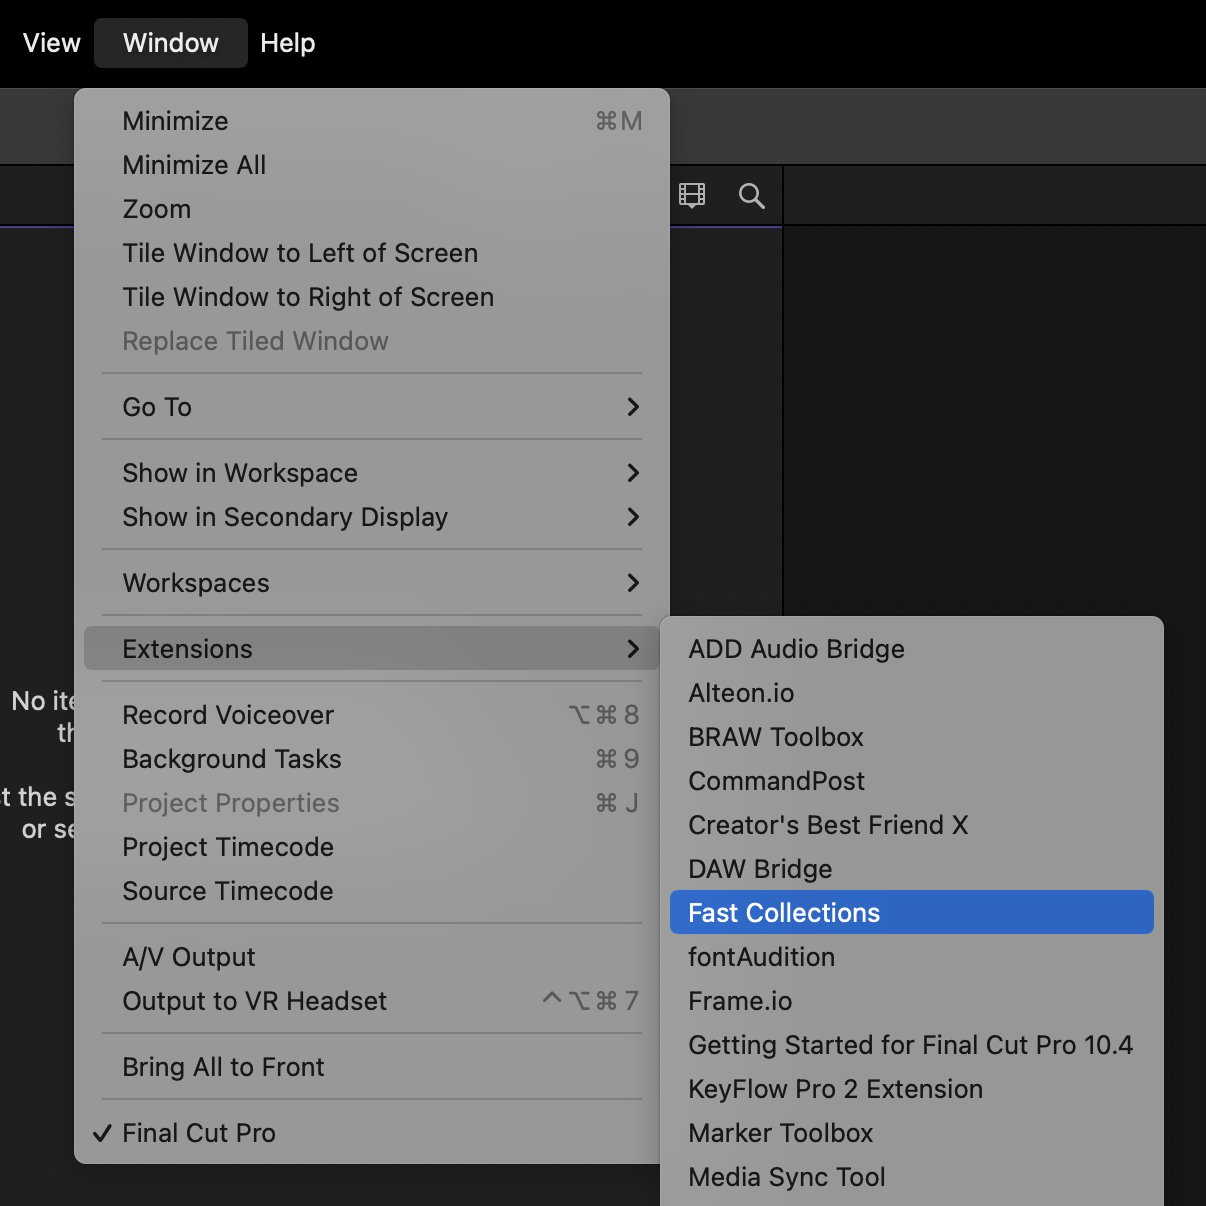
You can now access the Fast Collections Workflow Extension via the Window > Extensions > Fast Collections menubar item:
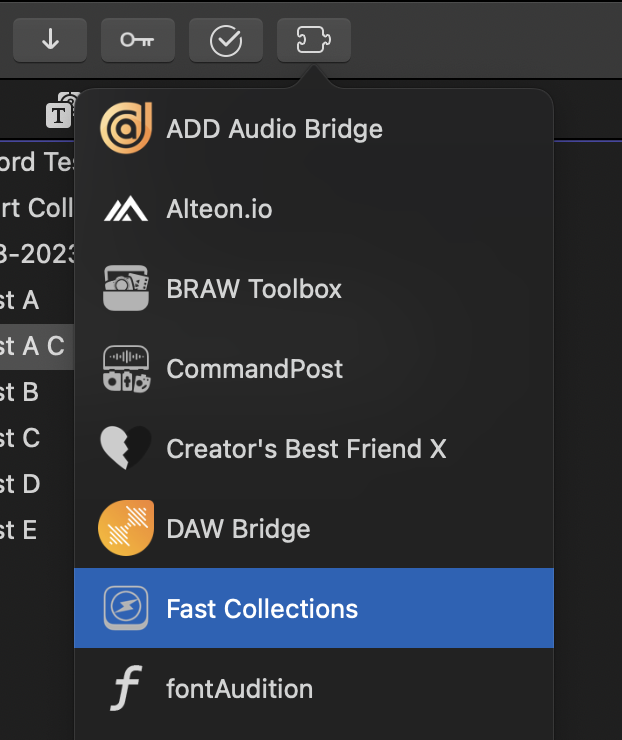
...or via the Workflow Extensions toolbar button:
When you open the Workflow Extension for the first time I will look like this:
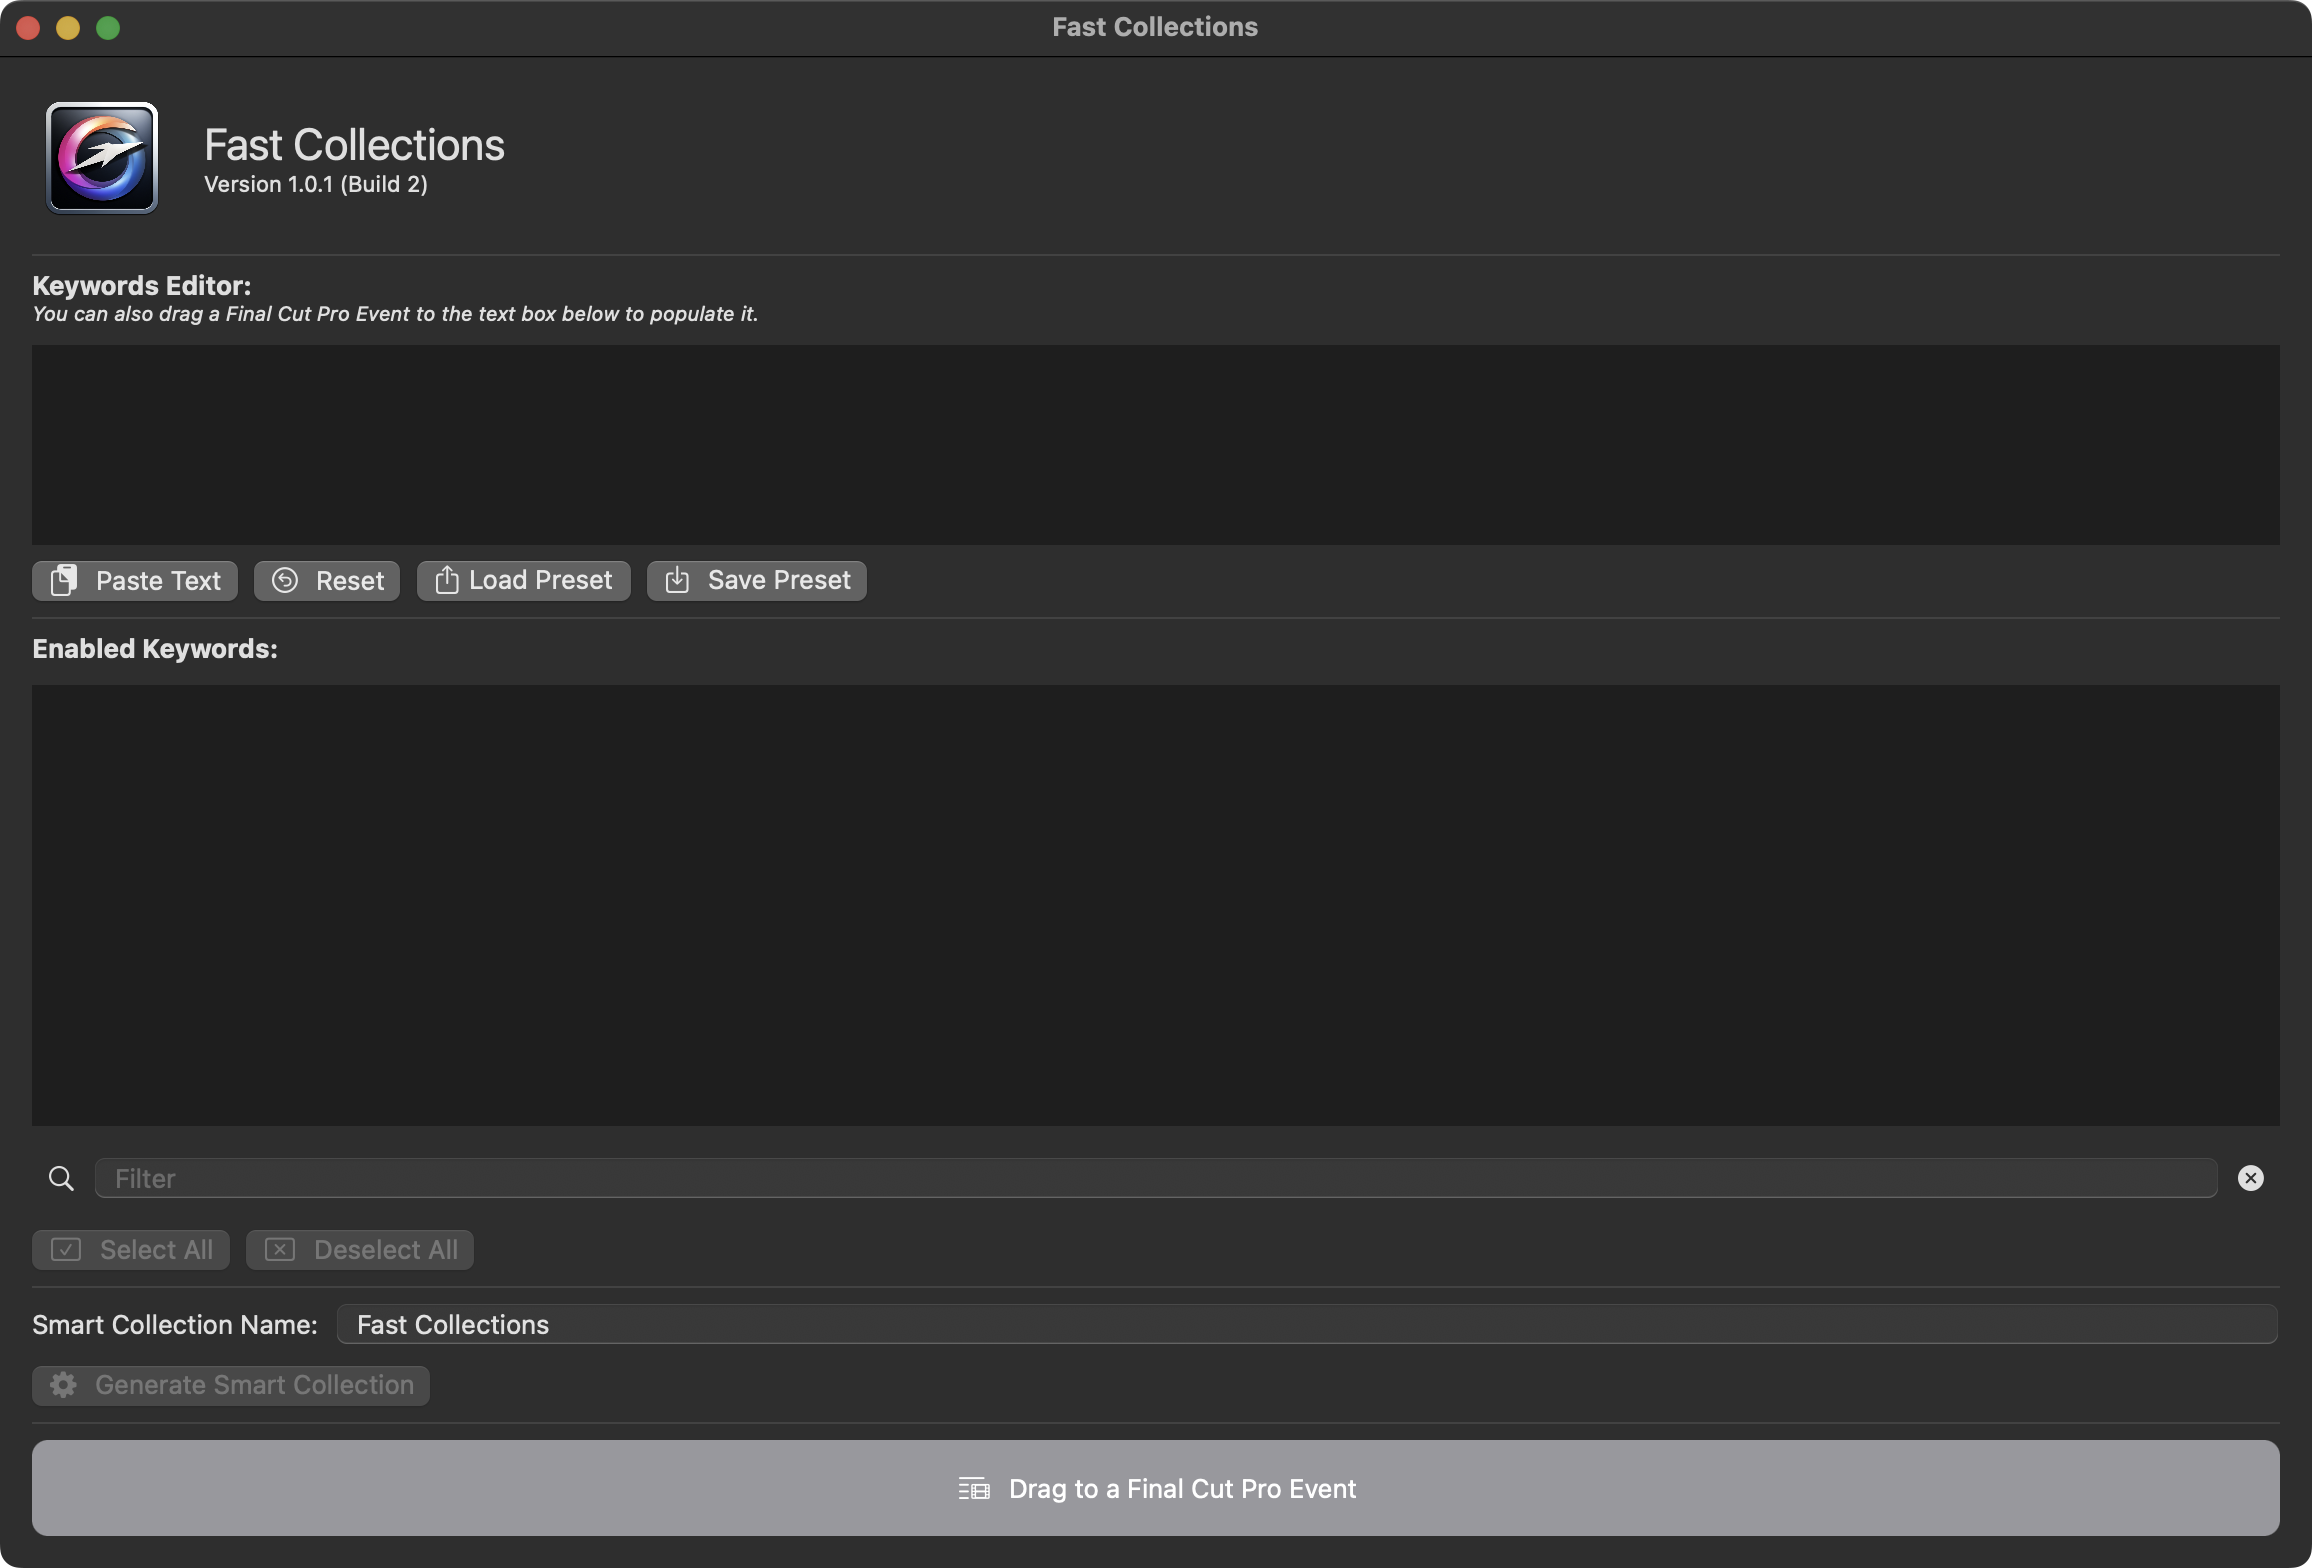
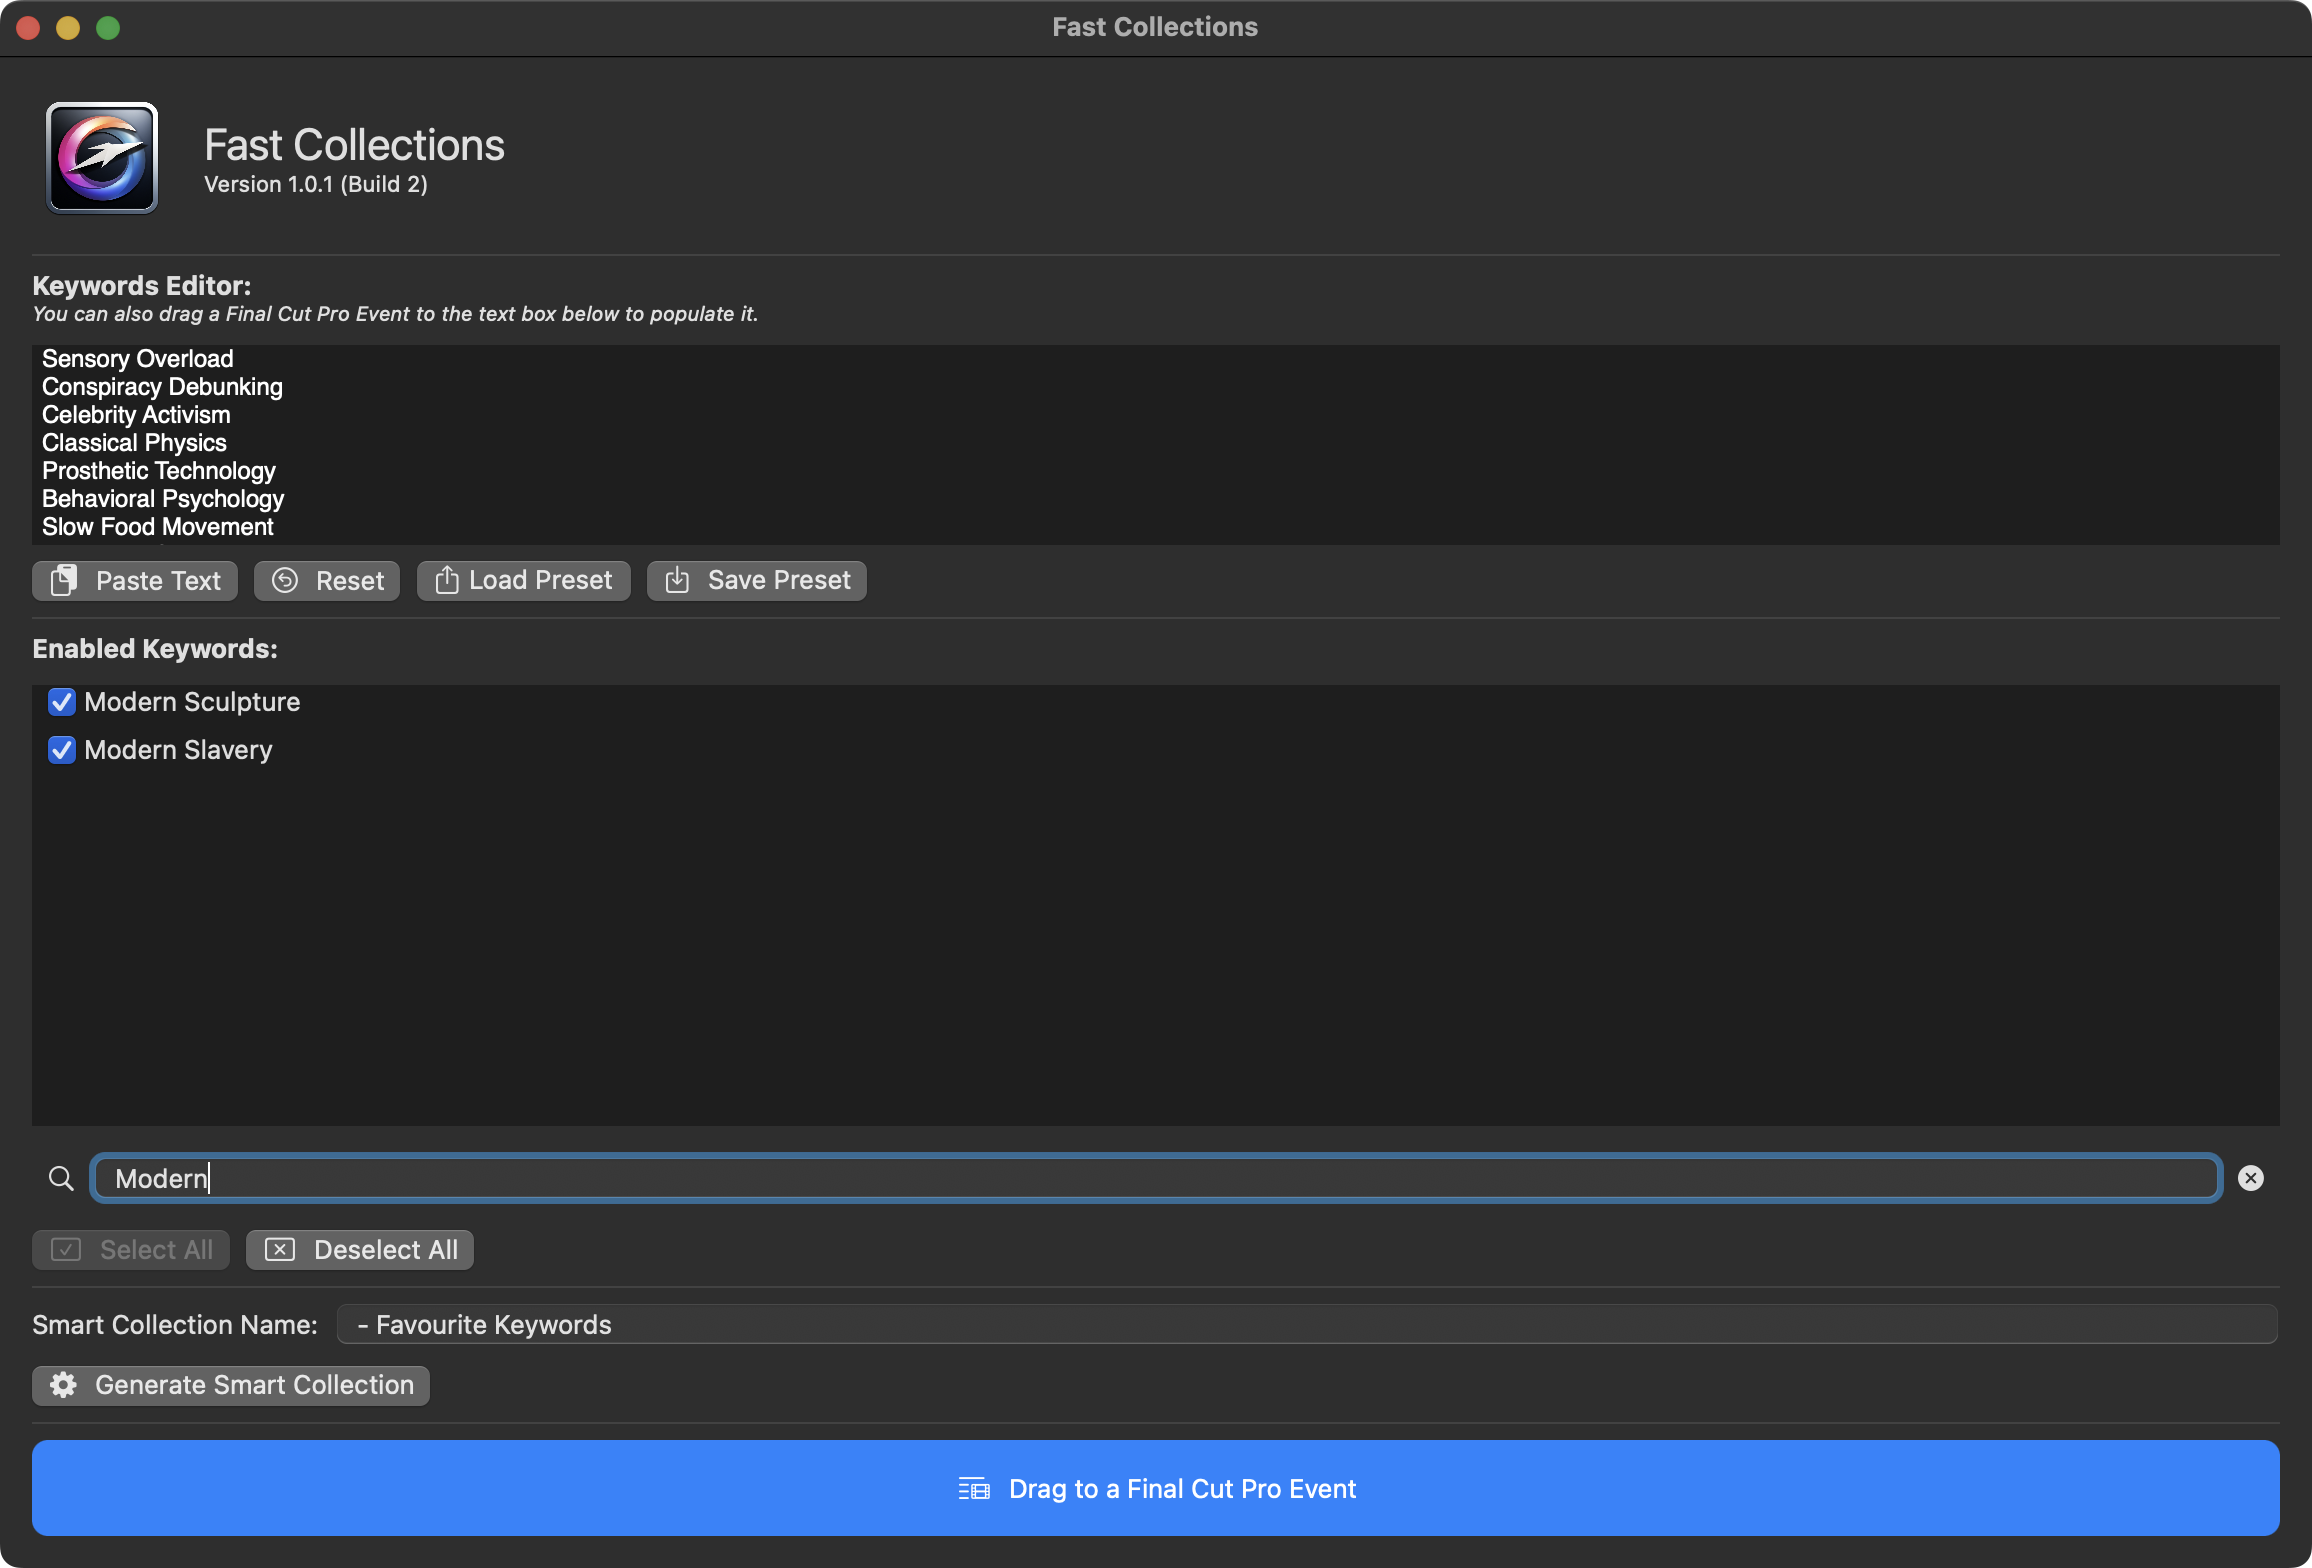
You can manually write a list of keywords, or use the Paste button to paste them from another application.
Alternatively, you can also drag a Final Cut Pro Library or Event from the Final Cut Pro Browser to the Keywords Editor text box, and all the keywords in that library or event will be populated.
Each line in the Keyword Editor will automatically create a new keyword item in the Enabled Keywords list.
You can then untick any keywords you don't want to store in the new Smart Collection.
You can use the Filter text box to filter the list of checkboxes, and the Select All and Deselect All buttons to quickly help you refine your selections.
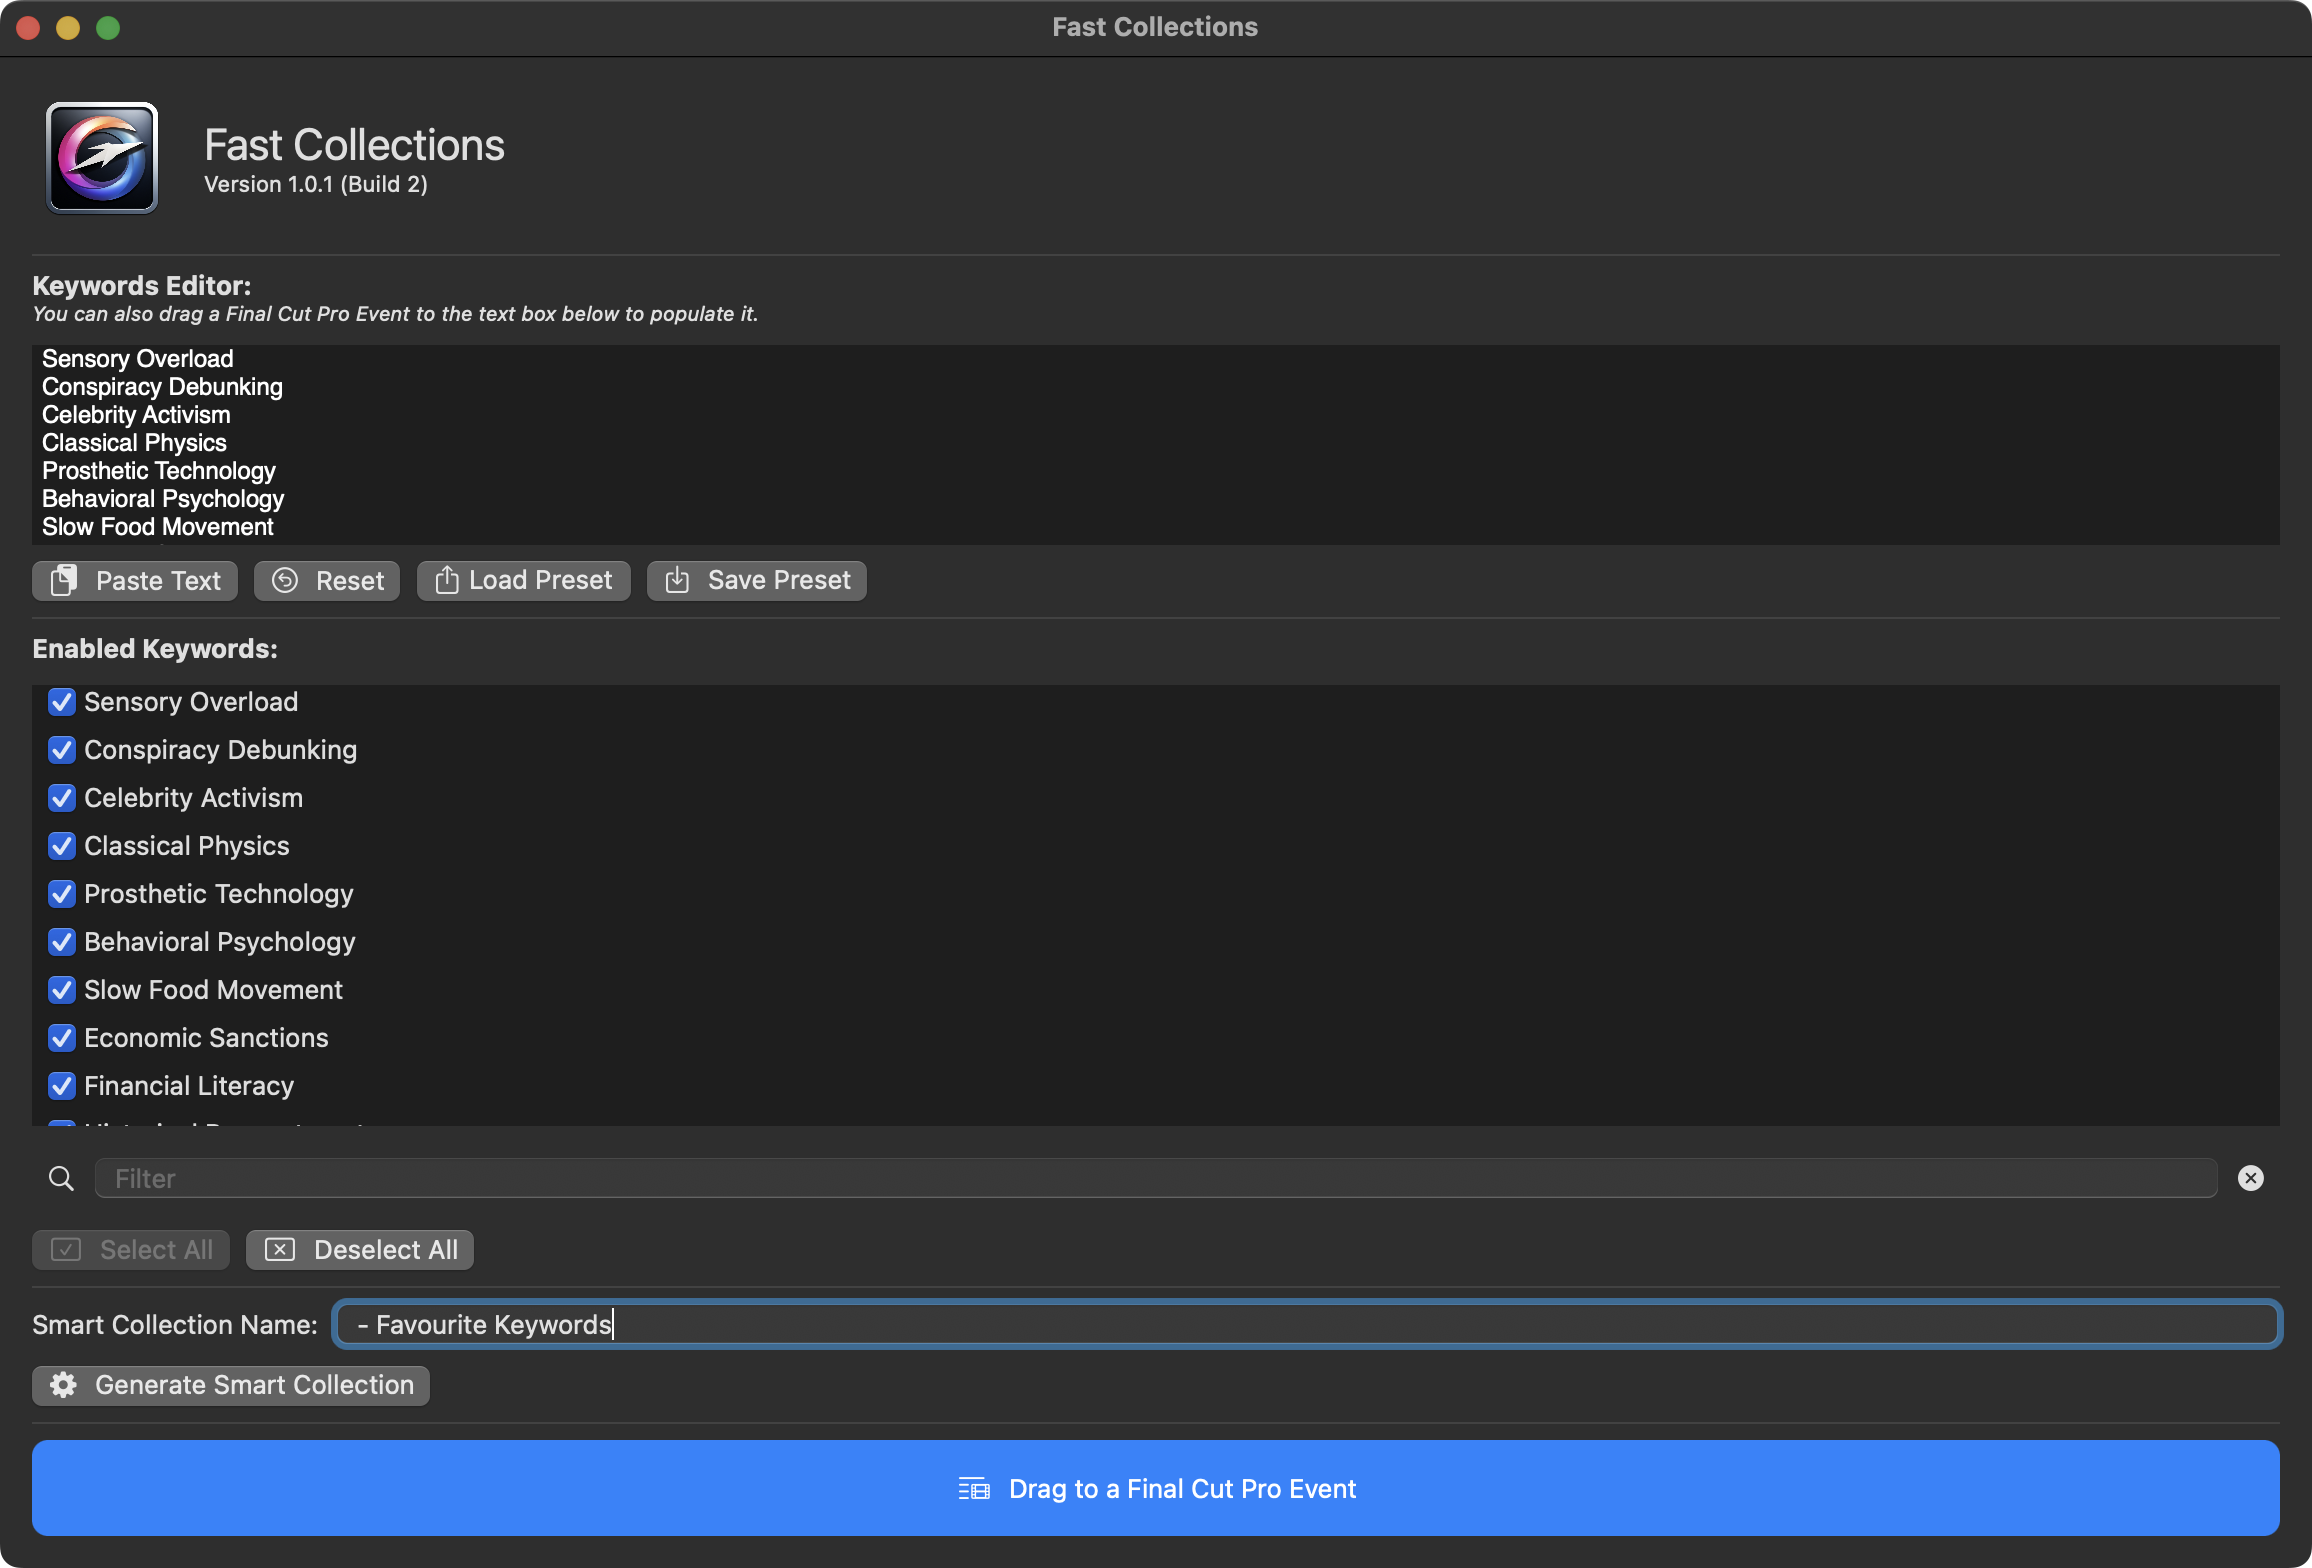
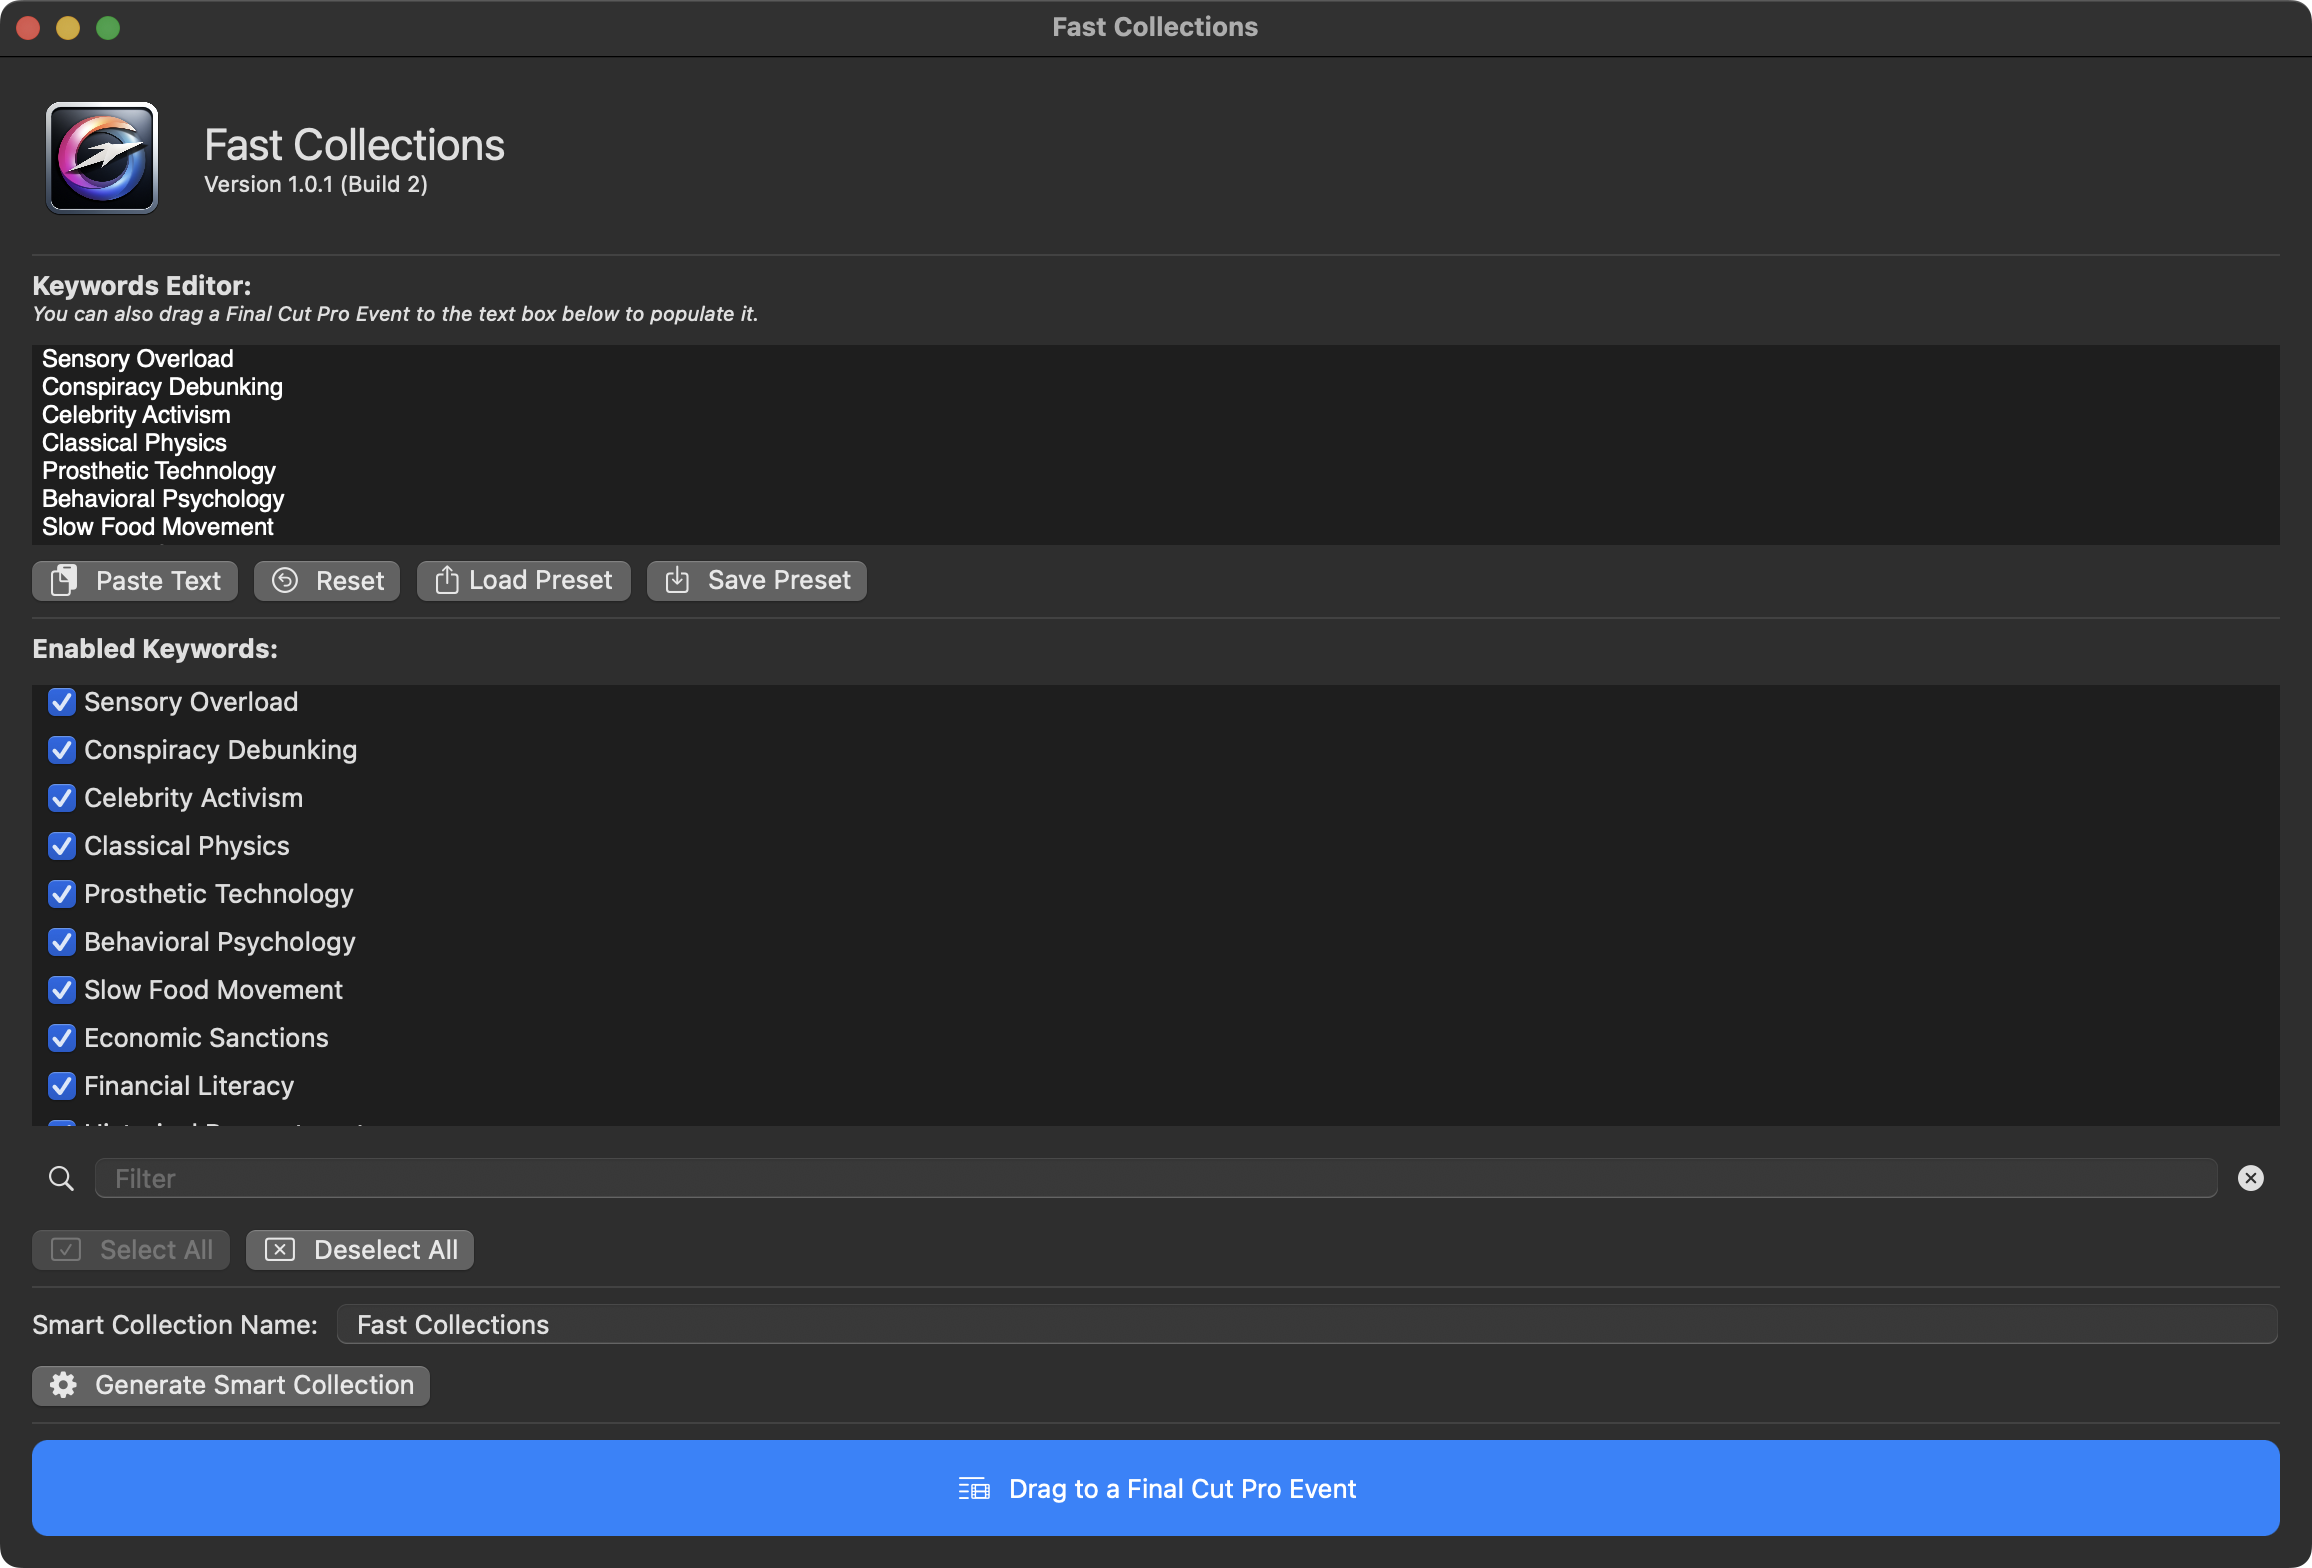
Once you're happy with your selections, type the name of your new Smart Collection, then press the Generate Smart Collection button.
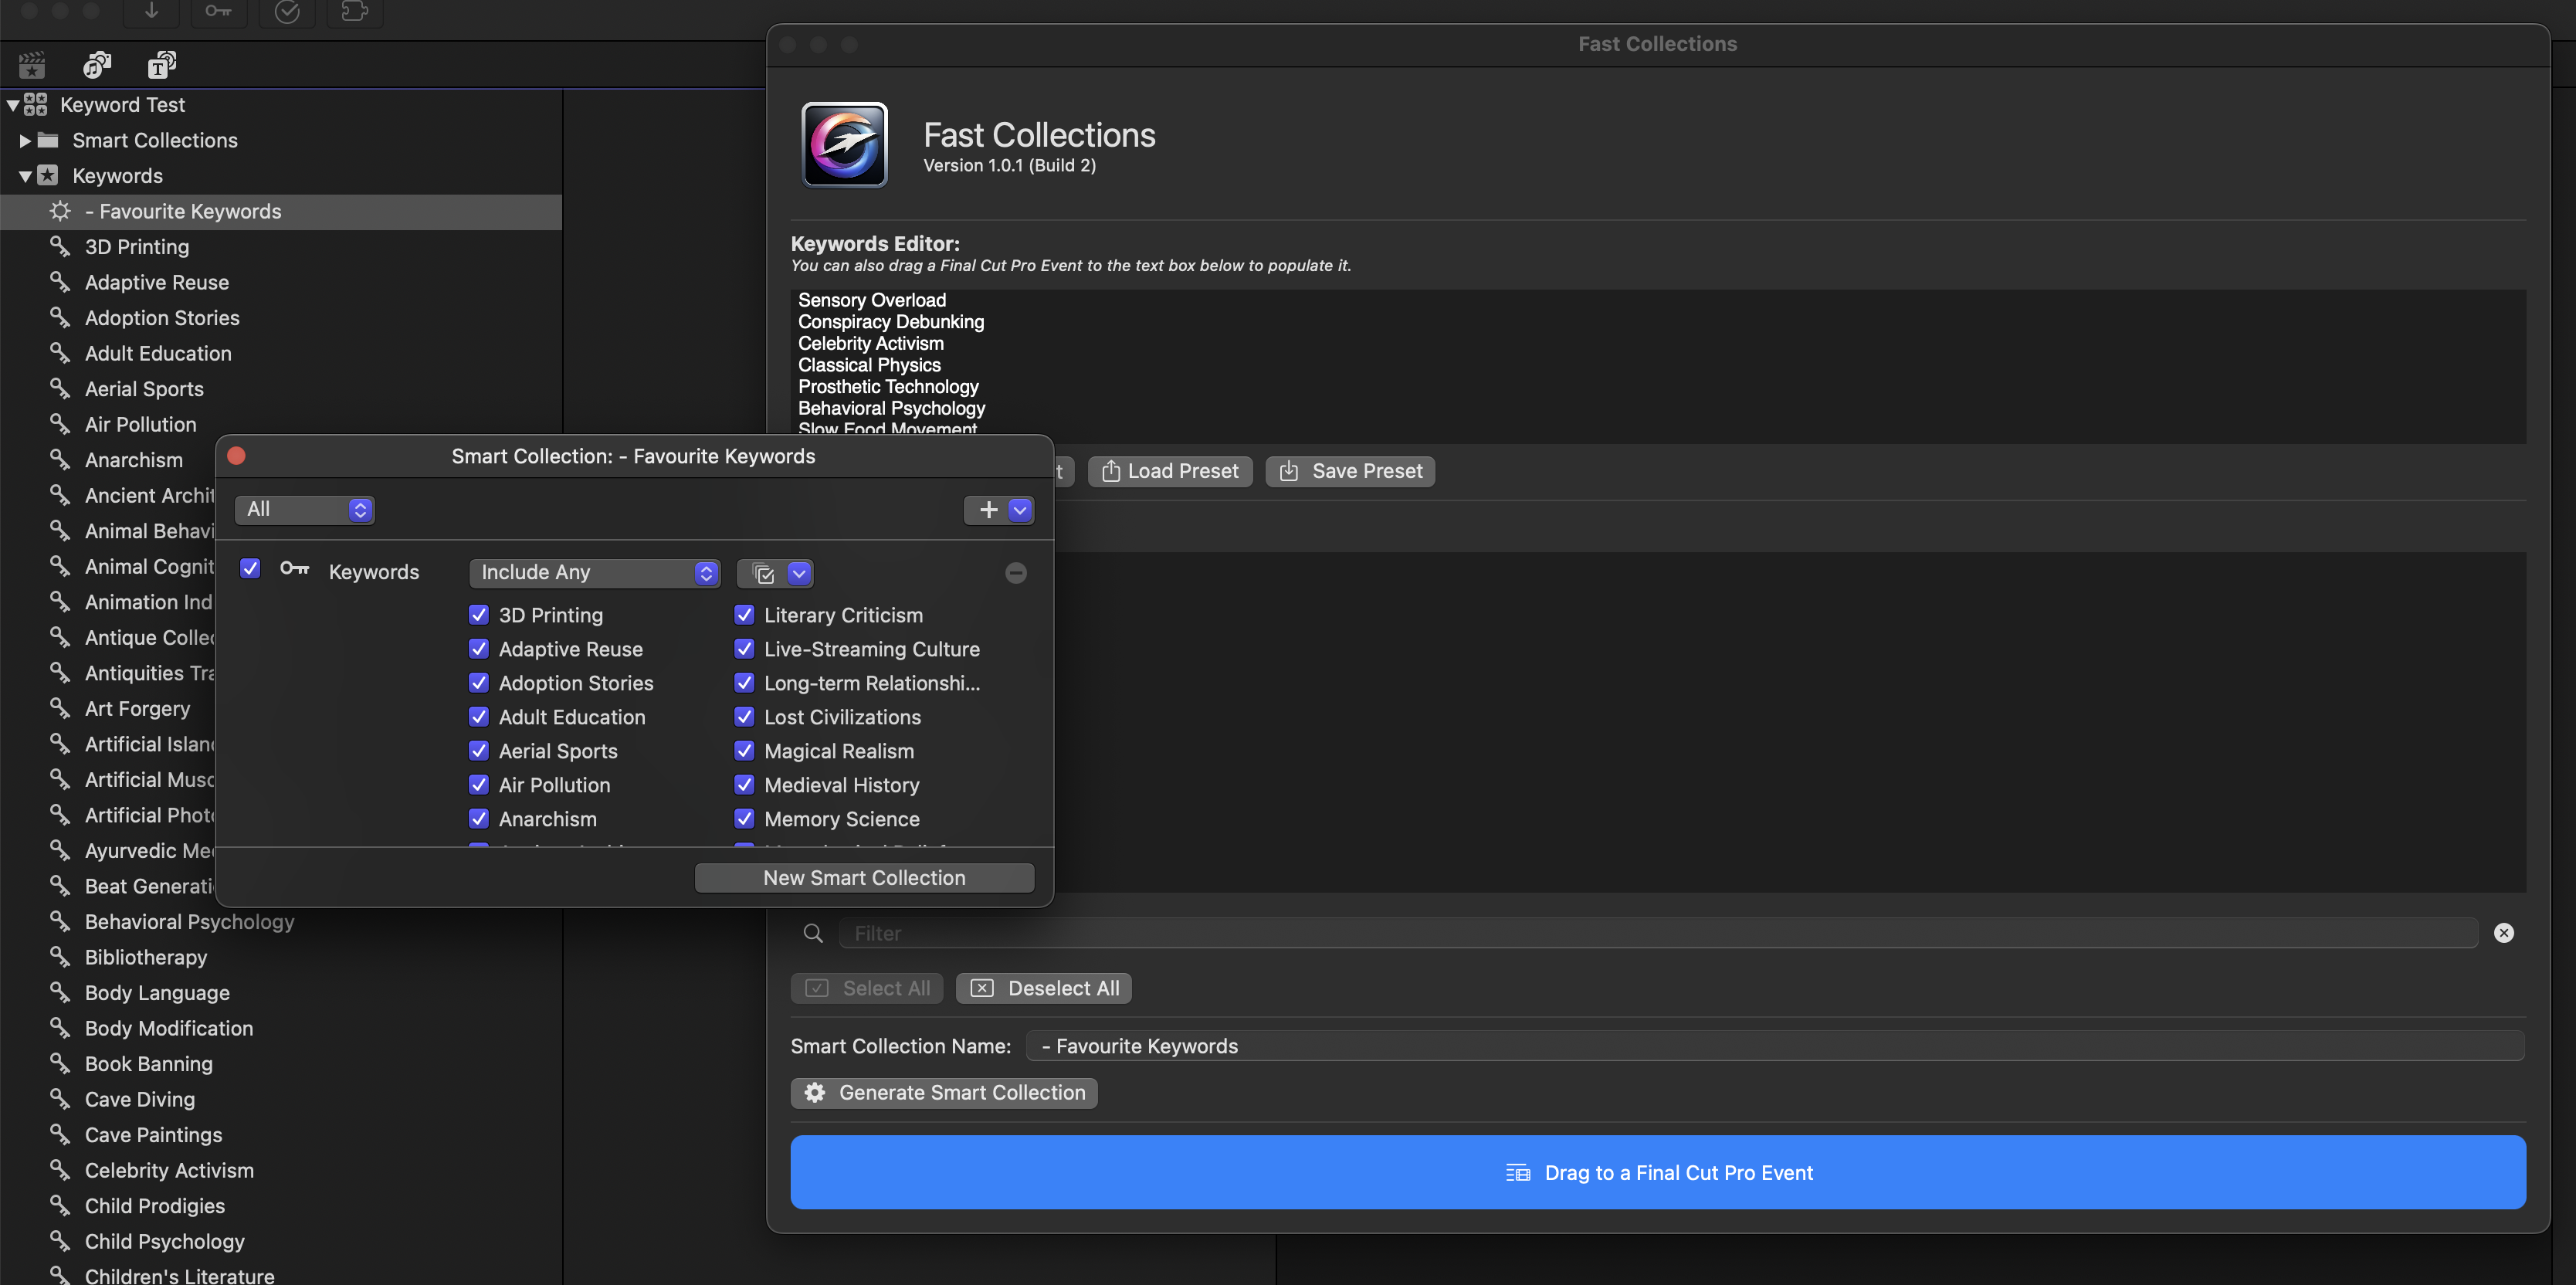
Once done, you can drag the blue icon at the bottom of the Workflow Extension into your Final Cut Pro Library or Event.
A new Smart Collection with the checked keywords will now be created in the event.
If you make changes to the Enabled Keywords or the Smart Collection Name you will need to press the Generate Smart Collection button again.
You can also use the Load Preset and Save Preset buttons to save your list of Keywords, for times when you're using recurring keywords.
It's a very simple Workflow Extension, but can save a lot of time when working on really big libraries with thousands of keywords.